 guttersys.com
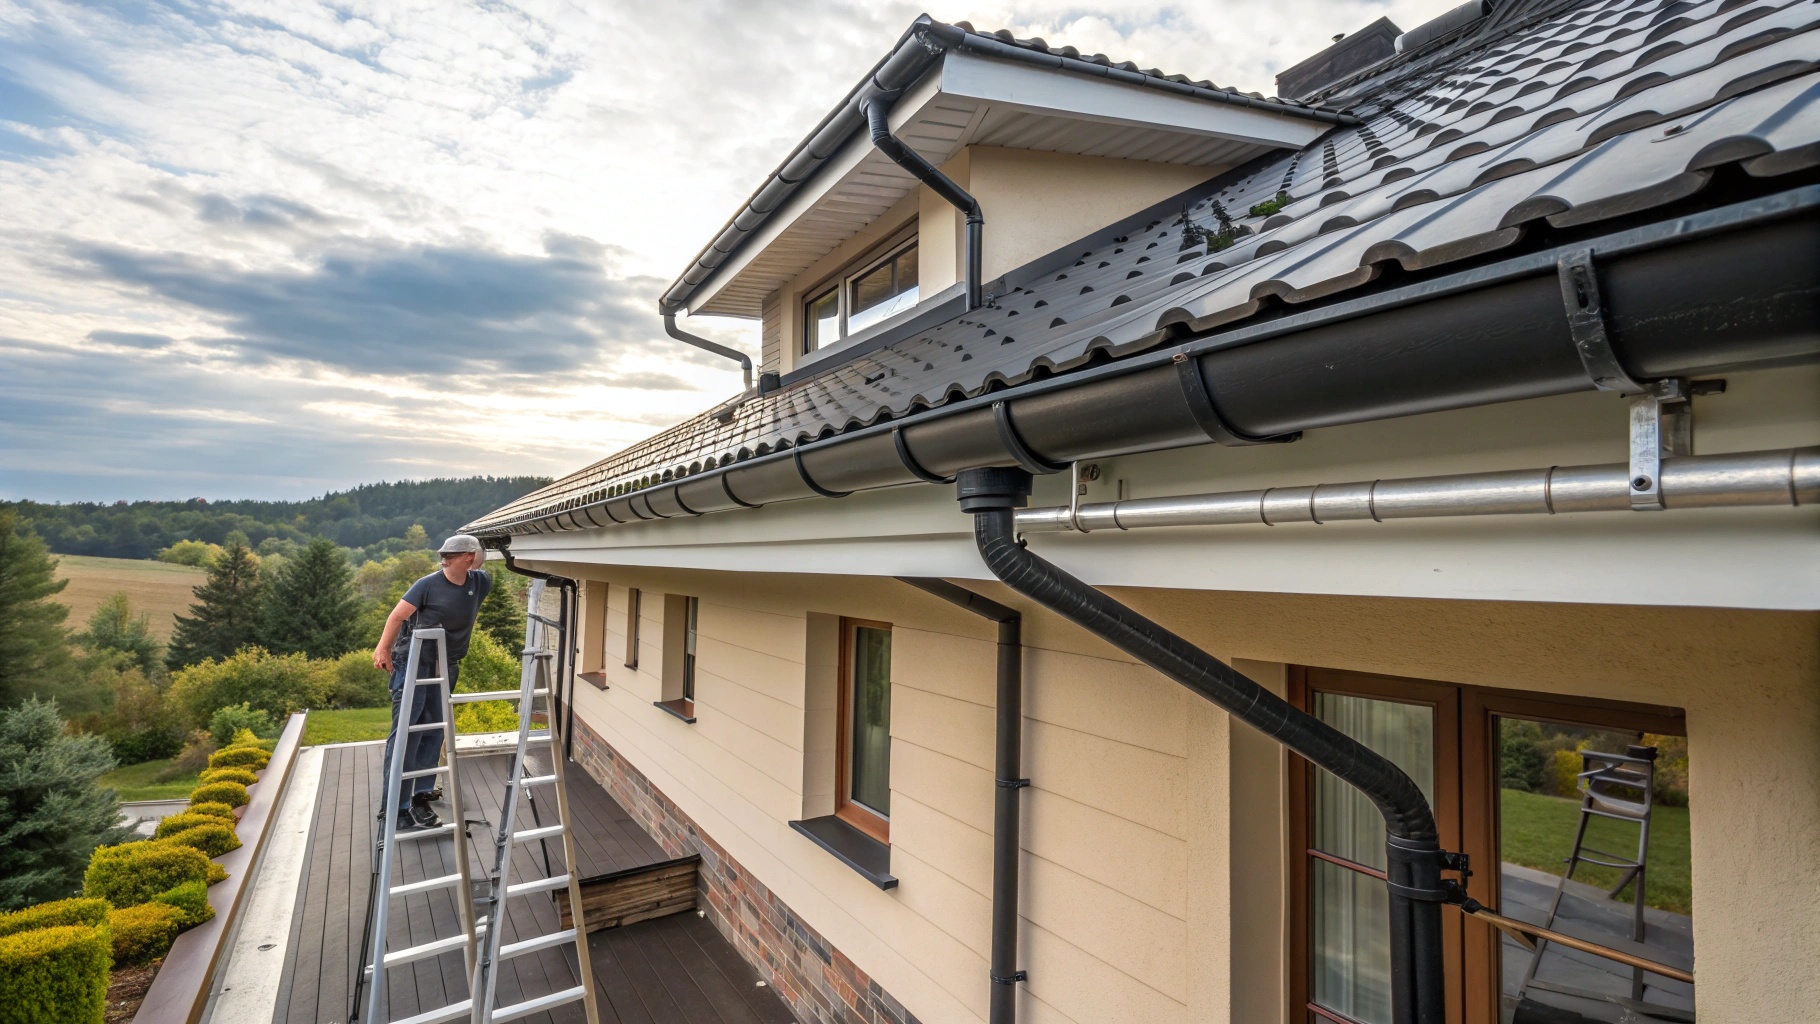
The effectiveness of a gutter system depends not only on quality materials but also on proper installation. Even premium gutters from renowned manufacturers can fail within the first season if mounted incorrectly. Understanding common installation errors helps homeowners avoid costly repairs and protects buildings from water damage.
Professional installers encounter the same mistakes repeatedly across residential projects. These errors stem from insufficient planning, misunderstanding of basic principles, or attempts to cut corners during installation. The consequences range from minor aesthetic issues to serious structural damage requiring complete system replacement.
Installing Gutters After Roofing Completion
One of the most fundamental mistakes occurs when contractors treat gutter installation as an afterthought, scheduling it after finishing all roofing work. This approach severely limits mounting options and often results in compromised system reliability.
Metal brackets designed for mounting to the roof deck provide the strongest support for gutter channels. These brackets attach directly to rafters or solid decking before shingles or other roofing materials are installed. When roofing is already complete, installers must rely on fascia-mounted brackets, which offer significantly less load-bearing capacity.
The fascia board, typically made from wood or composite materials, cannot withstand the same forces as structural roof elements. During heavy snowfall or ice accumulation, fascia-mounted gutters often pull away from the building, causing damage to both the drainage system and the building exterior. This problem becomes particularly acute in regions with harsh winters, where snow loads exceed standard precipitation patterns.
Proper sequencing requires planning the gutter system during the roof design phase. Contractors should install roof-mounted brackets at appropriate intervals before laying roofing materials. The brackets are then folded or adjusted to create the necessary slope after roofing completion. This method distributes loads across multiple structural points rather than concentrating stress on the fascia board alone.
Incorrect Gutter Slope or Complete Absence
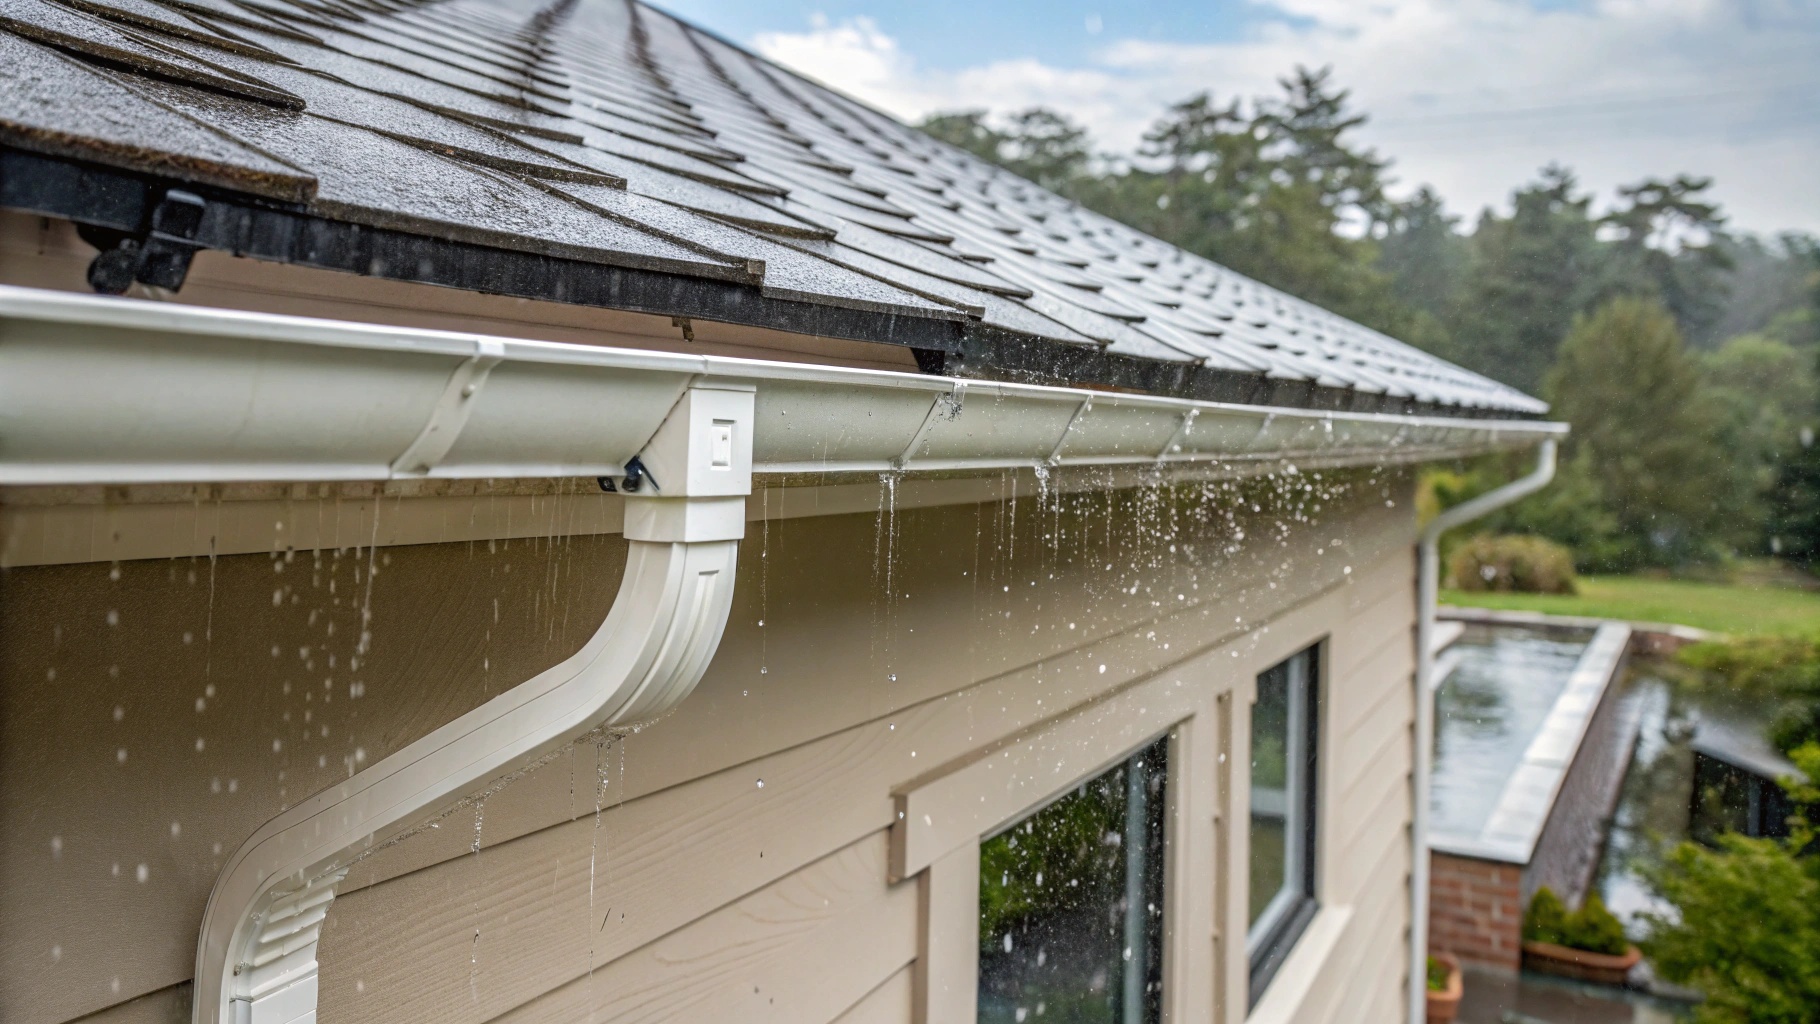
The slope of gutter channels determines whether water flows efficiently toward downspouts or stagnates in various sections. Horizontal gutters without proper inclination create standing water pools that become breeding grounds for algae and mosquitoes while accelerating material deterioration.
Calculating the correct slope requires precision. The standard recommendation is three to five millimeters of drop per meter of gutter length. Some installers mistakenly believe visible slope suffices, but inadequate inclination produces the same problems as completely level gutters. Conversely, excessive slope causes water to rush too quickly, potentially overflowing at corners or downspout connections during heavy rainfall.
Many contractors install the first and last brackets without carefully measuring the height difference between them. They then space remaining brackets evenly, assuming this approach automatically creates uniform slope. However, this method fails to account for fascia irregularities, bracket manufacturing tolerances, or slight variations in mounting hardware. The result is a wavy channel with alternating low and high spots where water accumulates.
Professional installation requires establishing exact elevation points before mounting any brackets. Installers should use a string line or laser level to mark the intended path of the gutter’s bottom edge. Each bracket is then positioned to maintain this line, with verification at multiple points during installation. The slope should flow consistently toward the nearest downspout, with no reverse angles or level sections that interrupt water movement.
For long gutter runs exceeding twelve meters, consider creating a high point in the center with slopes toward downspouts at each end. This configuration prevents the excessive drop that would result from sloping the entire length in one direction while maintaining efficient drainage throughout the system.
Insufficient or Improperly Spaced Support Brackets
Support brackets form the skeleton of any gutter system, yet installers frequently underestimate the number required for adequate support. Spacing brackets too far apart allows gutters to sag under the weight of water, snow, and ice, creating low spots that trap debris and water.
Metal gutter systems typically require bracket spacing no greater than sixty centimeters apart. Plastic systems, despite their lighter weight, need even closer spacing at fifty centimeters or less due to thermal expansion characteristics. These measurements represent maximum distances—installing brackets closer together always improves system stability.
The critical locations demand additional support beyond standard spacing intervals. Corner pieces, where gutters change direction, experience concentrated stress during water flow and should have brackets within twenty centimeters on each side of the corner. End caps, which close off gutter runs, similarly require nearby support to prevent the cantilevered end from drooping over time.
Downspout outlets present another high-stress point. The concentrated water flow creates downward force on the outlet, while the connected downspout adds weight and wind resistance. Positioning brackets immediately adjacent to outlets—again within twenty centimeters—prevents deformation at these connection points.
Some installers distribute brackets evenly without considering these stress concentrations. They might correctly space brackets at fifty-centimeter intervals overall but place an outlet midway between two brackets, leaving it unsupported. This oversight often causes outlet separation or gutter deformation during the first major storm.
The bracket installation itself requires attention to fastener selection and positioning. Screws or bolts must penetrate solid wood by at least thirty millimeters to achieve adequate holding power. When mounting to fascia boards, locate fasteners to engage structural members behind the facing rather than relying on the thin fascia material alone.
Misaligned Gutter Position Relative to Roof Edge
The relationship between the roof edge and gutter channel directly affects how efficiently water enters the drainage system. Positioning the gutter too far from the roof allows water to overshoot during heavy rain, while placing it too close risks damage from sliding snow and ice.
The ideal position places the gutter’s outer edge directly beneath an imaginary line extending from the roof slope. This arrangement ensures that water flowing off the roof lands in approximately the center of the gutter channel rather than hitting the front or back edge. When water strikes the back edge near the fascia, it often splashes over, defeating the purpose of the gutter system. Conversely, water hitting the front edge creates noise and increases erosion around the building foundation.
Creating this proper alignment requires consideration of roof overhang characteristics. Metal roofing panels often extend past roof decking by several centimeters, while shingles typically have a shorter overhang. Contractors must account for these variations when positioning brackets rather than simply aligning gutters with the fascia board edge.
The vertical relationship between roof and gutter matters equally. Gutters mounted too high intercept sliding snow and ice sheets that should clear the system entirely. This interference can tear gutters from brackets or crush the channel. Conversely, gutters positioned too low fail to catch water during moderate rainfall, as the stream falls beyond the gutter opening.
A practical guideline suggests positioning the gutter so its mounting edge sits approximately two and a half centimeters below the extended roof plane. This clearance allows snow to slide past while ensuring adequate water capture. During installation, contractors can verify positioning by temporarily placing a straightedge against the roof slope and measuring the gap to the gutter’s mounting point.
Regional factors influence optimal positioning. Areas with minimal snow accumulation can position gutters closer to the roof plane, maximizing water capture efficiency. Regions experiencing significant snowfall require greater clearance to prevent damage, accepting slightly reduced performance during light rain as a reasonable trade-off.
Ignoring Thermal Expansion in Plastic Systems
Plastic gutters offer numerous advantages over metal alternatives, including corrosion resistance and lower cost. However, they expand and contract significantly with temperature changes, and failure to accommodate this movement causes joint separation and system failure.
The thermal expansion coefficient of vinyl and PVC materials means a three-meter gutter section can change length by up to six millimeters between summer heat and winter cold. Installers familiar only with metal systems often apply the same techniques to plastic gutters, creating rigid connections that cannot accommodate this dimensional change.
Manufacturers design plastic gutter systems with expansion joints and slip connections specifically to address thermal movement. These components allow adjacent sections to slide relative to each other while maintaining water-tight seals through rubber gaskets or flexible lips. Omitting these specialized connectors or installing them incorrectly eliminates the system’s ability to move naturally.
Some contractors notice expansion joint markings on gutter sections but misunderstand their purpose. Rather than leaving the specified gap, they push sections together tightly, assuming closer contact improves seal quality. This approach works temporarily in moderate temperatures but creates problems when thermal expansion occurs. The restricted sections buckle, crack, or push apart at weaker connection points.
Proper installation of plastic systems requires attention to ambient temperature during mounting. When installing in hot weather, sections should be pushed fully together, as cooling will cause contraction and naturally create appropriate gaps. Installation in cold weather demands leaving visible gaps between sections, which will close as warming occurs. Manufacturers typically provide temperature-specific installation guidelines that specify exact gap dimensions.
The connection method also matters significantly. Plastic systems should never be rigidly glued or sealed at every joint. Instead, specific joints are permanently bonded while others utilize slip connections that permit movement. Reading and following the manufacturer’s assembly instructions prevents the common mistake of either over-securing or under-securing various connection points.
Poor Downspout Placement and Inadequate Drainage
Downspouts represent the exit point for collected water, yet their positioning and terminus often receive insufficient consideration during system design. Improper placement concentrates water in problematic areas, while inadequate capacity causes system backups and overflow.
The most common error involves positioning too few downspouts for the gutter length and roof area. Each downspout can effectively drain only a limited gutter section—typically no more than twelve meters of channel. Roof areas exceeding the capacity of available downspouts experience slower drainage and increased overflow risk during heavy precipitation.
Some installers space downspouts evenly without considering roof geometry and water flow patterns. Valley areas and large unbroken roof sections collect substantially more water than hip sections or areas with multiple roof planes. Downspouts should locate near these high-volume collection points rather than being distributed primarily for aesthetic symmetry.
The vertical route from gutter to ground presents another opportunity for mistakes. Downspouts mounted too far from the wall create unsightly gaps and reduce wind resistance, while those pressed directly against siding may trap moisture and promote rot or mold growth. The optimal standoff distance is three to eight centimeters, maintained by properly spaced wall brackets.
Downspout termination deserves particular attention. Simply directing water onto the ground next to the foundation negates much of the gutter system’s protective value. The concentrated discharge creates soil erosion, foundation seepage, and basement moisture problems. Proper systems include downspout extensions, splash blocks, or underground drainage pipes that convey water at least two meters away from the building perimeter.
Underground drainage connections require careful installation to prevent system failure. The transition from above-ground downspout to buried pipe must include proper fittings that prevent separation while accommodating slight ground settlement. Buried pipes should maintain continuous slope toward the discharge point, with no low spots where water can accumulate and potentially freeze.
Many contractors install downspouts in convenient locations based on construction access or aesthetic preference without considering drainage patterns. A downspout emptying onto an uphill slope simply moves water a short distance before it flows back toward the foundation. Similarly, downspouts terminating near basement window wells, foundation cracks, or other vulnerable areas create rather than solve water problems.
Skipping Post-Installation Testing
Perhaps the most critical oversight involves failing to verify system functionality before considering the job complete. Many installation defects that would be immediately obvious during testing instead remain hidden until the first significant rainfall, when repairs become more difficult and expensive.
A simple test involves temporarily blocking all downspout outlets and filling gutters with water from a garden hose. This procedure reveals leaks at joints, identifies sections with inadequate slope where water pools, and verifies that all brackets hold securely under load. The modest time investment catches most installation errors when they are easily corrected.
During testing, observe not just whether water remains contained but also how it flows through the system. Water should move smoothly toward downspouts without creating turbulence, splashing, or standing pools. Smooth flow indicates proper slope and adequate capacity, while erratic movement suggests installation problems requiring correction.
Joint inspection during water testing reveals connection quality that cannot be assessed visually. Even joints that appear properly sealed may leak under water pressure, indicating insufficient gasket compression or missing sealant. Identifying these weak points before completing the installation prevents callback repairs during the first rainstorm.
Testing should extend beyond the gutter channels themselves to include downspout discharge. Verify that water exits where intended and flows away from the building as designed. This final verification ensures the complete system functions as planned rather than simply checking that individual components are properly assembled.
The following comparison illustrates how proper installation practices differ from common mistakes:
| Installation Aspect | Common Mistake | Correct Approach |
| Mounting Sequence | Install after roofing complete | Plan and prepare brackets before roofing |
| Slope Measurement | Eyeball approximation | Laser level or string line verification |
| Bracket Spacing | Maximum allowable distance | Closer than maximum, plus extra at stress points |
| Thermal Expansion | Ignore or rigidly connect all joints | Use manufacturer’s expansion joints and temperature-specific gaps |
| System Testing | Skip testing, wait for rain | Fill with water and verify function before completion |
Weather conditions during installation also affect outcome quality. Extremely hot or cold temperatures make materials more difficult to work with and can compromise connection integrity. Ideal installation occurs during moderate weather when materials remain flexible and contractors can work comfortably without rushing due to temperature extremes.
The consequences of installation errors vary in severity but rarely remain minor problems. The table below summarizes potential outcomes:
| Error Type | Short-term Consequence | Long-term Consequence |
| Inadequate slope | Standing water, mosquito breeding | Channel rust/deterioration, joint failure |
| Insufficient brackets | Minor sagging | Gutter separation, damage to fascia |
| Wrong position relative to roof | Water overshooting in heavy rain | Foundation damage from misdirected water |
| Ignored thermal expansion | No immediate effect | Joint separation, crack development |
| Poor downspout placement | Localized foundation wetting | Basement flooding, structural settlement |
| Skipped testing | Undetected installation flaws | Emergency repairs during storms |
Professional installation recognizes that gutter systems must function reliably for decades with minimal maintenance. The additional time invested in proper mounting, accurate measurement, and thorough testing pays dividends throughout the system’s service life. Homeowners should verify that contractors follow these practices rather than accepting the lowest bid from installers who cut corners.
Understanding these critical installation errors empowers building owners to ask informed questions and recognize quality workmanship. Whether hiring professionals or attempting DIY installation, avoiding these seven mistakes ensures a gutter system that protects the building effectively while requiring minimal maintenance throughout its expected lifespan. The modest additional effort during installation prevents exponentially greater problems and expenses in subsequent years.

